Simulate AR projects using Mega capabilities with session verification tool
This article guides developers on how to use the session verification tool to load recorded EIF data and simulate AR projects using Mega capabilities in the Unity Editor.
Before you begin
- Complete Quick Start to learn how to run Unity applications with Mega features.
- Understand what EIF is.
- Learn how to capture simulation data.
Why session verification tool simulation is a good approach
Remote development: Avoid working under scorching sun or freezing cold. With EIF data, you can develop large-scale geospatial AR applications right from your office.
Cross-platform debugging: No need to frequently connect various mobile devices. Simulate positioning and tracking effects for different terminals like smartphones and headsets directly on a Windows PC.
The "gold standard" for issue reporting: A reproducible EIF file is the key evidence for the EasyAR team to resolve positioning and tracking issues.
Note
Although EIF data is recorded very precisely, simulation results may still differ from actual usage effects.
Additionally, simulation data has limited coverage of real-world environments, so field testing is essential before final release.
Procedure
Simulate operation using the session verification tool by following these steps.
Prepare on-site recorded EIF file
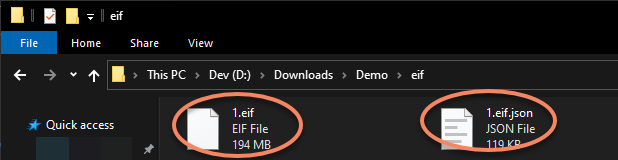
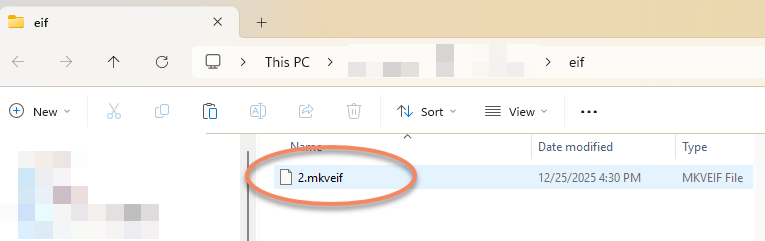
Depending on the selected recording format, recorded EIF data should be .mkveif files (or .eif files paired with .eif.json files - both are required).
.eif and .eif.json:
.mkveif:
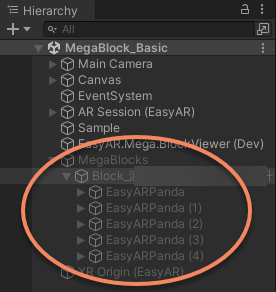
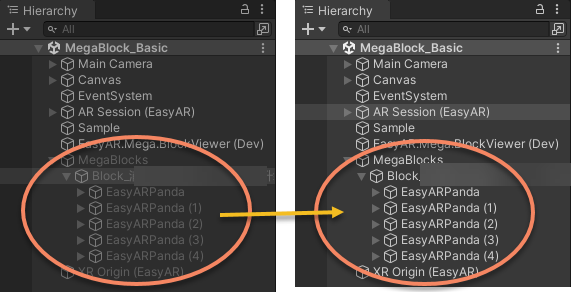
Place 3D content against block dense models or panoramas
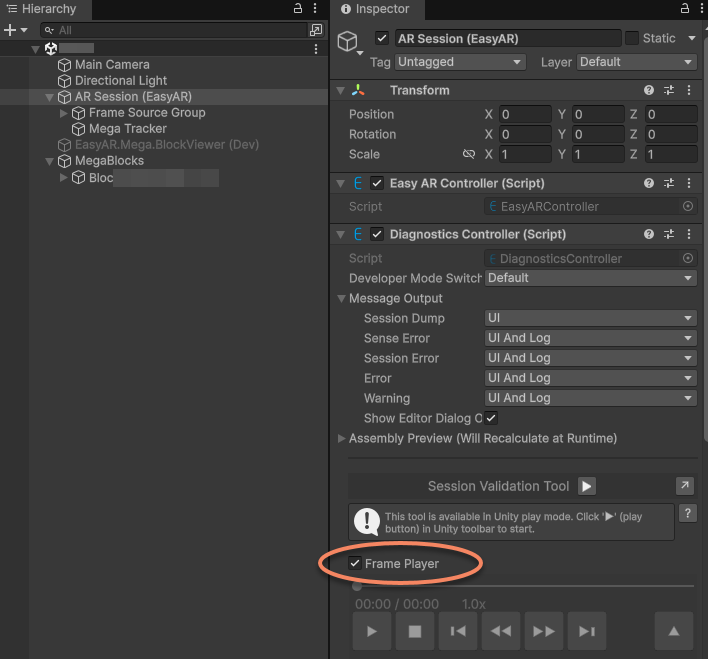
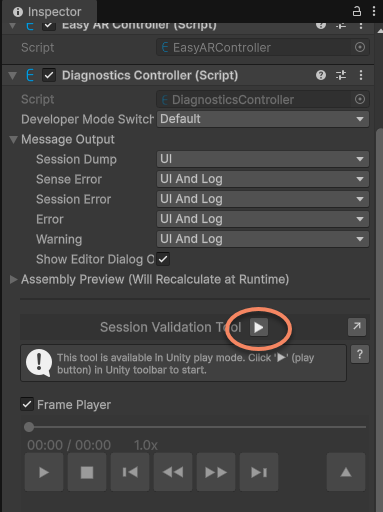
Enable session verification tool
Click AR Session (EasyAR) in the scene > Confirm Frame Player is enabled in its Inspector panel.
Run
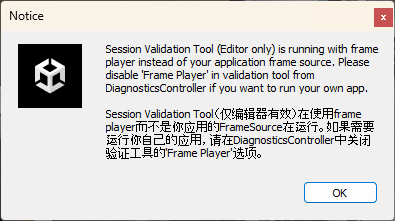
Click the toolbar button or the run button on Session Validation Tool to start running the project in the Unity Editor.
A prompt window will appear after running - this is normal, it simply indicates that Frame Player is currently active.
Click the button on the tool to open the EIF file.
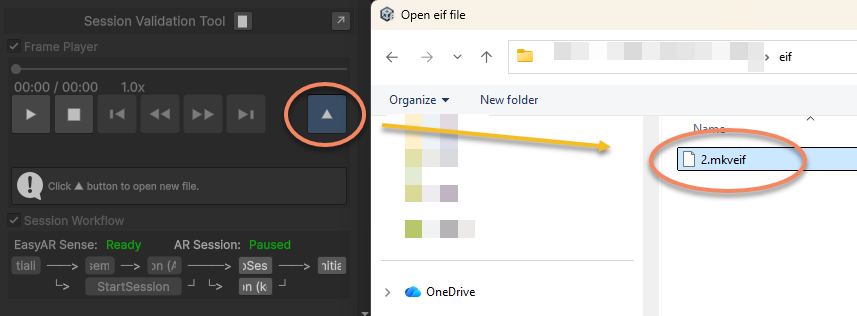
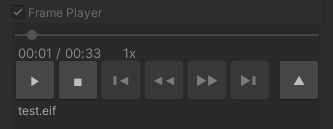
After successful opening, playback starts automatically. Use toolbar controls for pause/play. Some newer EIF formats also support timeline scrubbing.
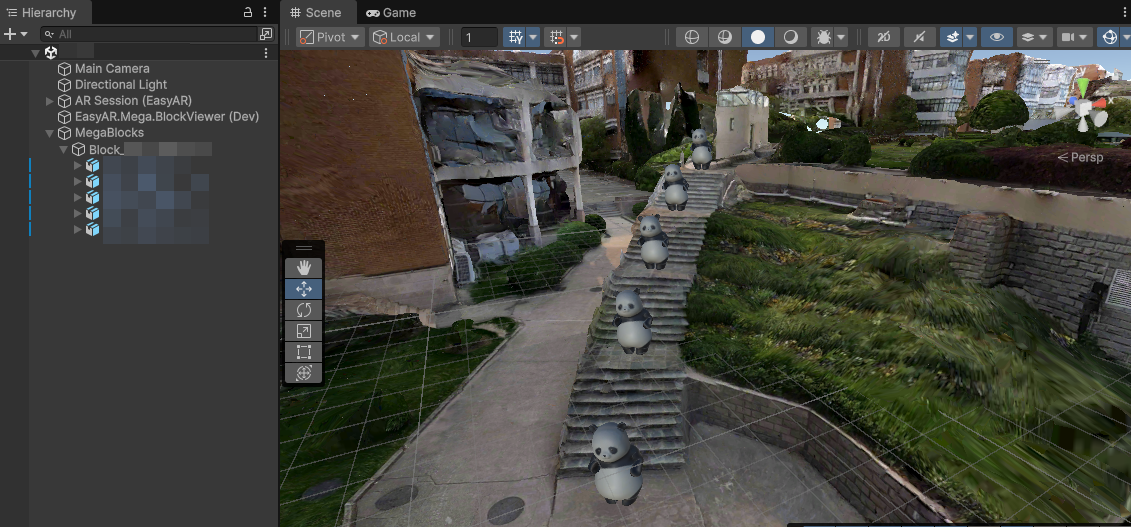
Simulation result:
If Block dense models are loaded in EasyAR.Mega.BlockViewer (Dev), they remain visible. This is useful for position comparison or checking positioning effects in unmodeled areas.
Generally, you can disable EasyAR.Mega.BlockViewer (Dev) (set active to false or remove the scene node). Then during runtime, you'll see virtual objects overlaid on the real-world scene.
Important
During use, you'll notice diagnostic text displayed on-screen or in-headset. Carefully review UI message output and decide what configurations and control switches to maintain during development, testing, and post-launch phases. These messages are crucial for communication with EasyAR support - we recommend utilizing them rather than immediately disabling.
By default, upon startup, MegaBlocks and all child nodes have active set to false until the first Block is localized. Content won't display until then.
After localization, these nodes become active (true), and content appears with continuous position updates.
To modify this behavior or gain finer control over active states, refer to BlockRootController component reference and BlockController component reference.
[Optional] Using LCC 3D Gaussian splatting
Note
This section applies to scenarios using LCC device capture and mapping. Other devices' mapping results don't contain LCC 3DGS data.
If you use LCC 3D Gaussian splatting (LCC), you can render 3DGS results simultaneously during simulation to verify model alignment with 3DGS.
First load LCC data and align with Mesh.
Disable the SceneGameCameraSync script if it exists on the Camera.
Simulation effect combining 3DGS rendering and EIF playback: