Image cloud recognition Web sample
This article walks you through an in-depth analysis of the sample code, helping you understand it and develop your own examples based on it.
For sample download and configuration instructions, refer to Quick start.
Recognition target setup
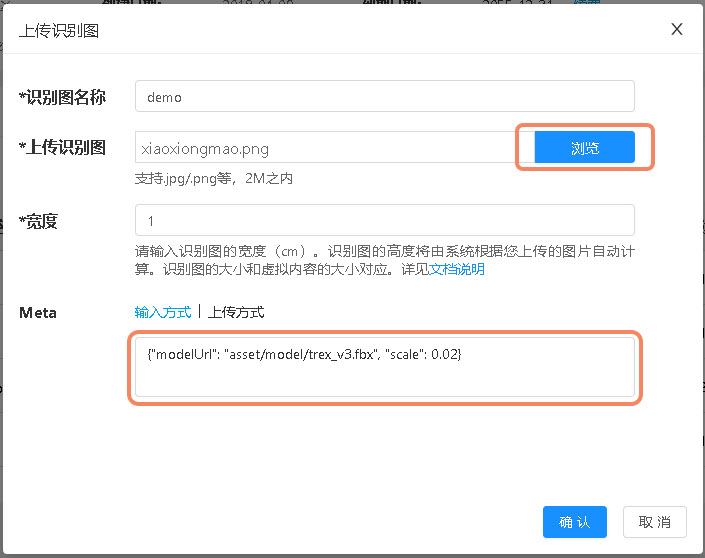
In cloud recognition management, upload a recognition image.
- Recognition image name: give the recognition target a name, such as demo.
- Upload recognition image: select and upload an image. The image used in this sample is:
https://www.easyar.cn/assets/images/webar/xiaoxiongmao.png. - Width: the width of the recognition image (cm). The height of the recognition image is automatically calculated by the system according to the uploaded image. The recognition image size corresponds to the size of virtual content, and is not used in this sample.
- Meta: additional information, generally used to store AR content information. The content used in this sample is:
{"modelUrl": "asset/model/trex_v3.fbx", "scale": 0.02}.
Get recognition target
After calling the cloud recognition API and recognizing a target, target information is returned with the following structure:
{
  "statusCode" : 0,
  "result" : {
    "target" : {
      "targetId" : "375a4c2e********915ebc93c400",
      "meta" : "eyJtb2RlbFVybCI6ICJhc3NldC9tb2RlbC90cmV4X3YzLmZieCIsICJzY2FsZSI6IDAuMDJ9",
      "name" : "demo",
      "modified" : 1746609056804
    }
  },
  "date" : "2026-01-05T05:50:36.484Z",
  "timestamp" : 1767592236484
}
Tip
For complete field information, see API reference
Decode meta with base64 to get the original meta information.
// data 为返回的数据
const meta = data.result.target.meta;
const modelInfo = JSON.parse(atob(meta));
Main code description
src/webar.js
Encapsulates several basic operations, such as camera initialization, image capture, and cloud recognition calls.
src/app.js
Encapsulates basic interface operations, such as camera switching, interface interaction, and WebAR initialization.
TokenVideoExample/asset/js/app.js and TokenThreeJsExample/asset/js/app.js
Cloud recognition configuration and business processing after successful recognition.
Expected effect
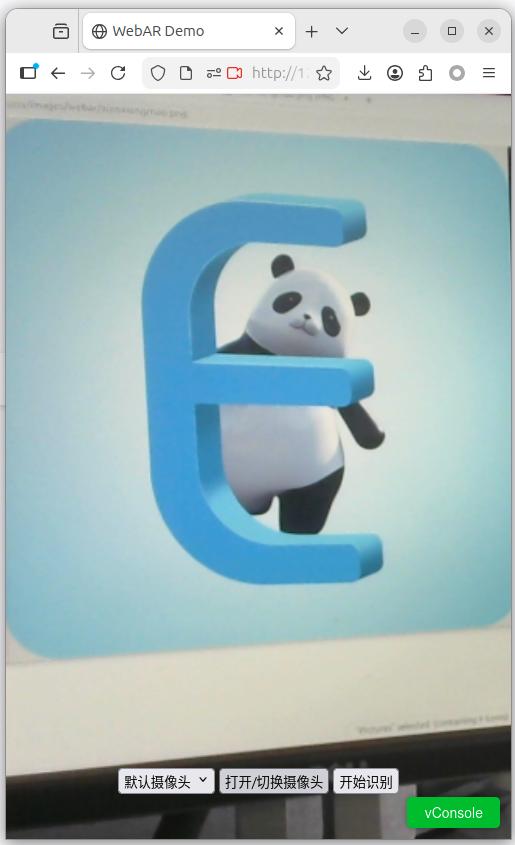
- Interface after camera initialization
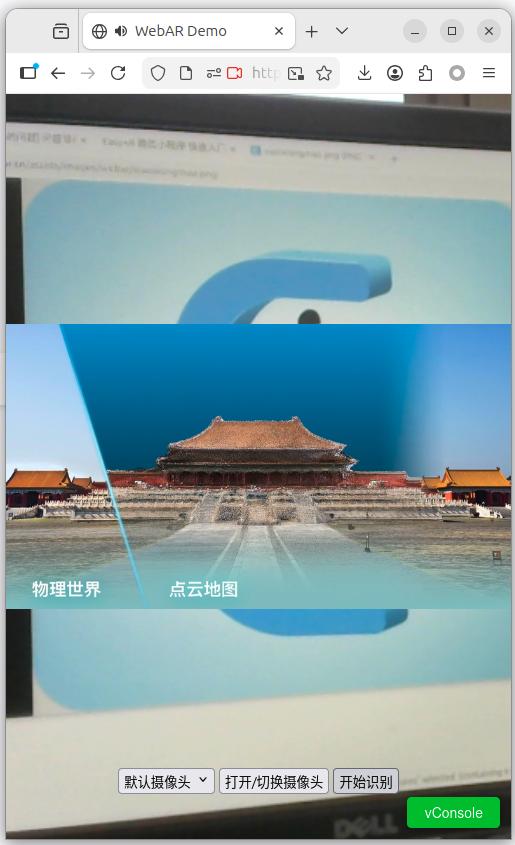
- Video playback effect
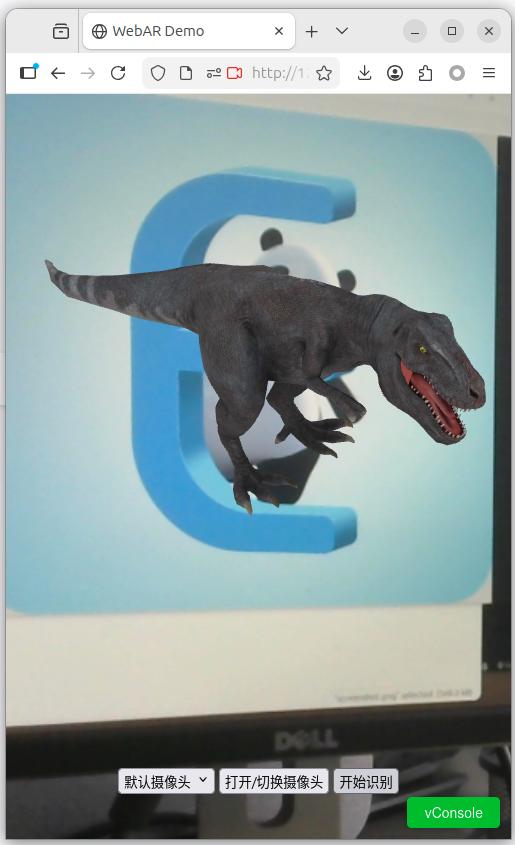
- Model rendering effect
In-depth code understanding
If you want to learn cloud recognition development in greater depth, it is strongly recommended that you read the sample source code. Based on this, you can try modifying and extending the source code.
Tip
The following explanation is based on the prerequisite that you already have a certain level of HTML and JavaScript development ability. If you have not yet mastered these basic skills, it is recommended to systematically learn the related knowledge first so that you can better understand the following content.
We use TokenThreeJsExample (rendering 3D models) as an example to introduce the main source code in the sample.
Business processing
The main methods in TokenThreeJsExample/asset/js/app.js are described below.
- Initialize the App object
// 使用云识别的 Client-end URL 初始化 App 对象
const app = new App('https://af0c1ca3b........0601c74.cn1.crs.easyar.com:8443');
- Set cloud recognition related information
// 设置云识别库 AppId 与 token,与 app.useEasyAr() 只能选一个使用
app.setToken({
    'crsAppId': 'f7ff4977......9984ef8068c', // 云别库的 CRS AppId
    'token': 'pQWnZo1Qt4drnc........QXUQambomdPWEj9So' // APIKey + APISecret 生成的 Token
});

// 如果使用 EasyAR 提供的集成环境
// app.useEasyAr();
- Process business logic
app.callback = (msg) => {
    // msg 为识别到目标的信息
    // 解析其中的 meta 字段,处理业务逻辑
};
UI and cloud recognition initialization
Description of the main methods in html/src/app.js.
- Initialize camera selection
constructor(url = '') {
}
- Configure cloud recognition with a custom token
setToken(token) {
}
- Configure cloud recognition with the EasyAR integrated environment
useEasyAr() {
}
Cloud recognition processing
Description of the main methods in html/src/webar.js.
- Camera screenshot and cloud recognition configuration
constructor(interval, recognizeUrl, token, container) {
}
- Open the camera and detect settings for landscape/portrait video stream preview
openCamera(constraints) {
}
- Start recognition
startRecognize(callback) {
}
- Capture screenshot
captureVideo() {
}
- Send the screenshot to the cloud recognition service for recognition
httpPost(data) {
}