Unity 上の Mega Studio を使用して 3D content を配置する方法
このドキュメントでは、Unity editor 上で annotation tool を使用して model placement を行い、後続の xr-frame 上での rendering に備える方法をすばやく学びます。
開始する前に
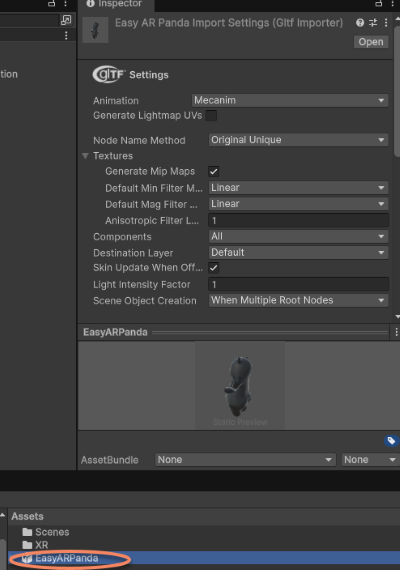
GLTF model を準備して Unity Assets にドラッグする
sample project で使用されている model (愛らしいパンダ) を使用するか、official xr-frame Demo で使用されている small robot model を使用できます。または xr-frame が読み込み可能な GLTF formats と supported extensions を参照して独自の model を準備し、resource hosting server に upload します。
ヒント
Mega plugin には com.unity.cloud.gltfast への dependency がすでに追加されているため、model files を Unity Assets に直接ドラッグできます。
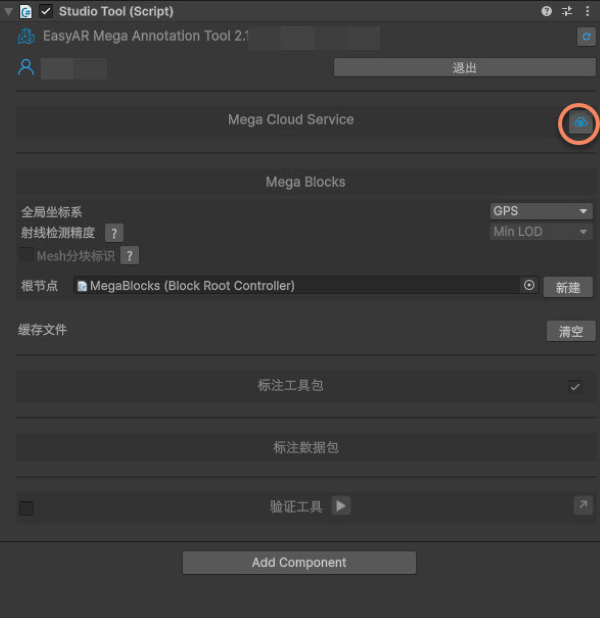
Mega cloud localization library を選択する
Mega Cloud Service 右側の icon をクリックします。
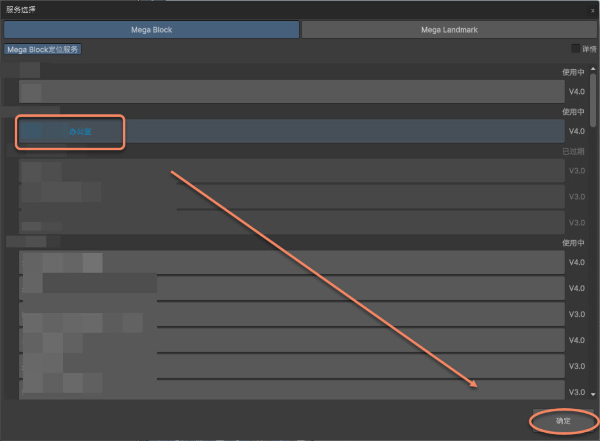
使用する library を選択します。
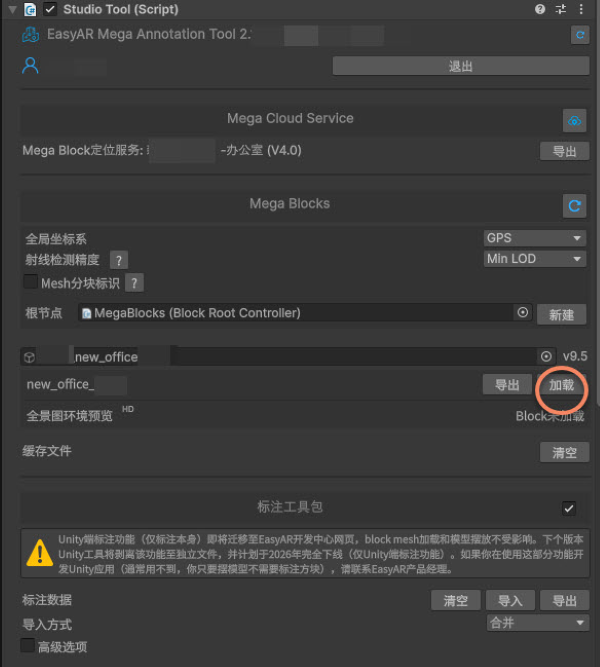
localization library と Mega Blocks 情報の読み込みに成功すると、Studio tool panel は図のように表示されます。
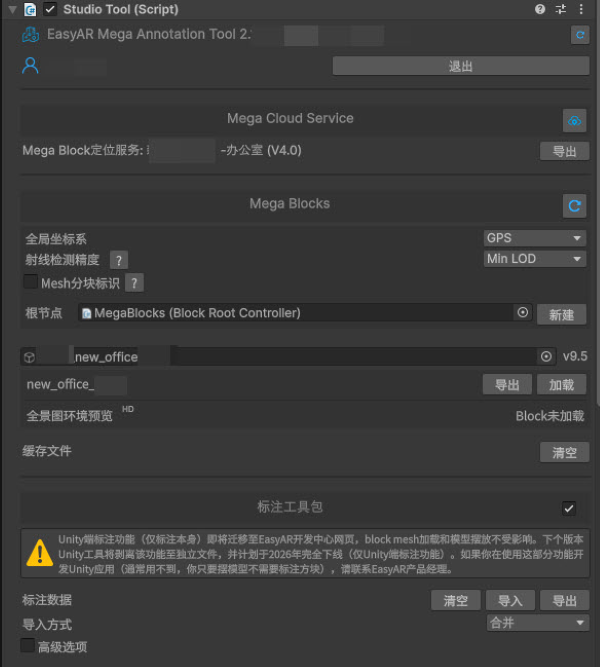
Block dense model を読み込む
Block 名の右側にある Load をクリックすると、その Block の dense model を動的に読み込めます。
Annotation を作成する
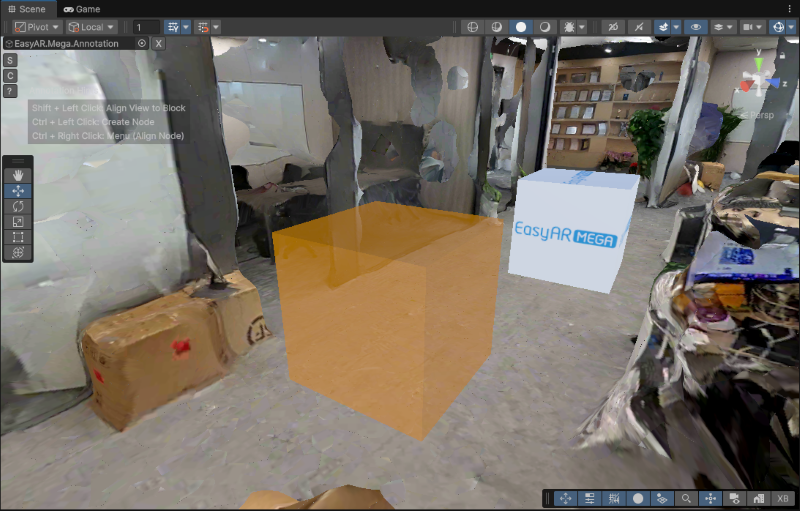
scene 内で Ctrl (Windows) / Command (Mac) キーを押しながら、annotation が必要な ground 上を左クリックします。
3D content を annotation の child node として使用する
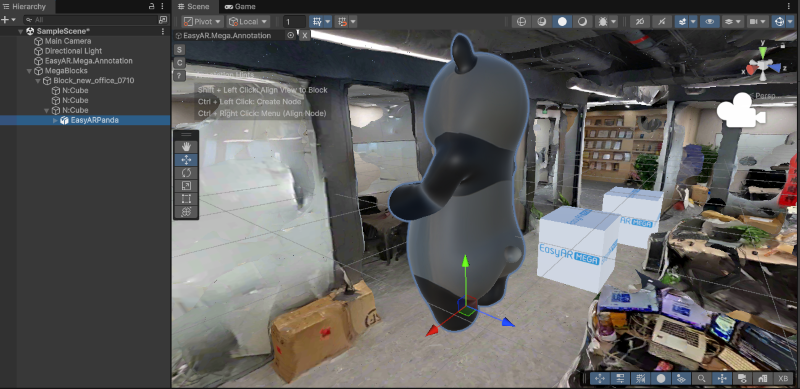
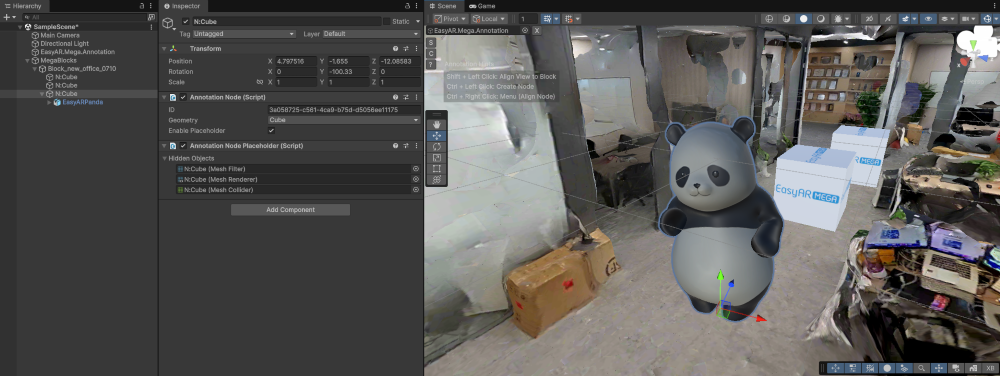
import した model を scene node にドラッグし、annotation の child node にします。
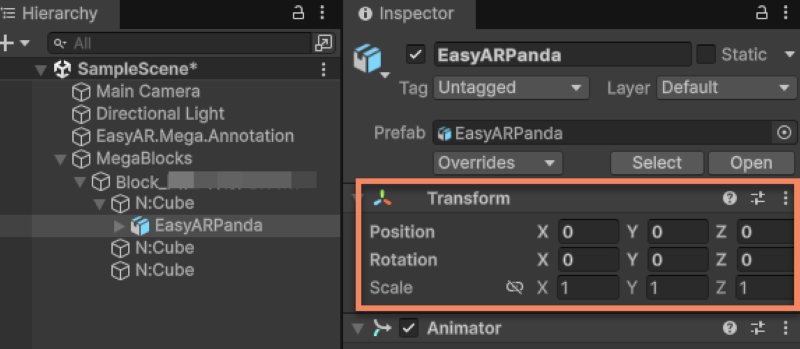
model の Inspector panel で Position と Rotation をすべて 0 に変更します。Scale は必要に応じて調整できます。
注記
EMA はすべての coordinate conversion logic を担います。model の Position と Rotation を 0 に設定するのは、model の geometric center を annotation point と完全に一致させるためです。すべての translation と rotation adjustment は、その parent node (annotation node) を操作して行う必要があります。
[Optional] Model position を調整する
scene 内で annotation node を選択し、dense model に合わせて model の position と rotation を調整します。
注記
annotation に対する model の Position と Rotation は常にすべて 0 でなければなりません。そうでない場合、xr-frame 上で正しい rendering result を得られません。
新しい annotation data package を作成する
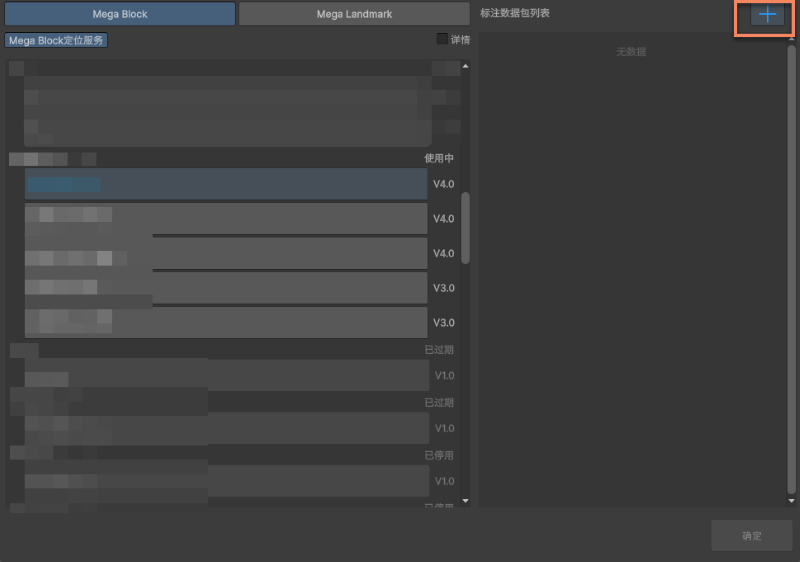
Inspector panel の annotation data package 右側にある icon をクリックします。
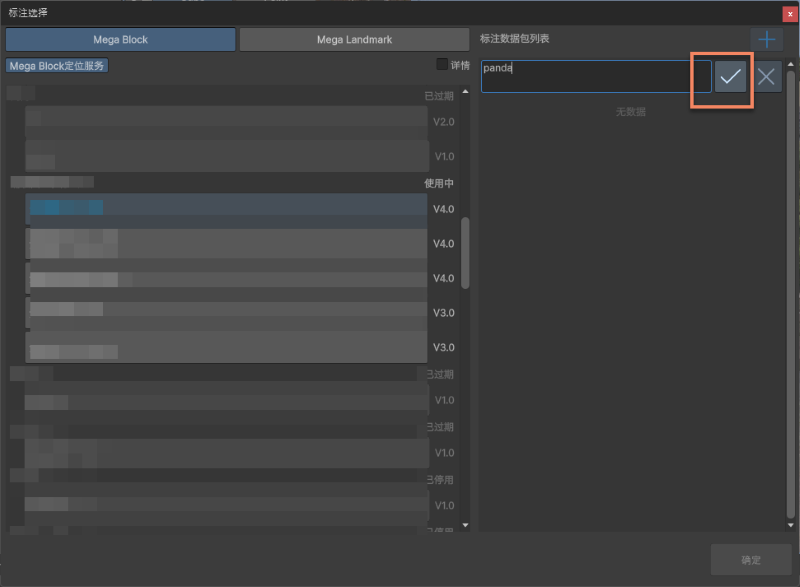
ボックスに annotation data の名前を入力し、右側のチェックをクリックします。
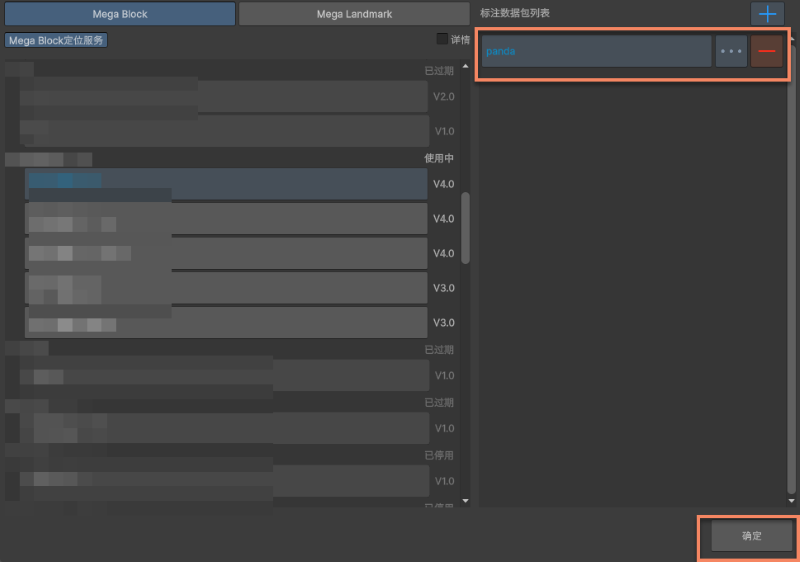
作成に成功すると図のように表示されます。その後、下部の OK をクリックします。
upload icon をクリックして upload します。
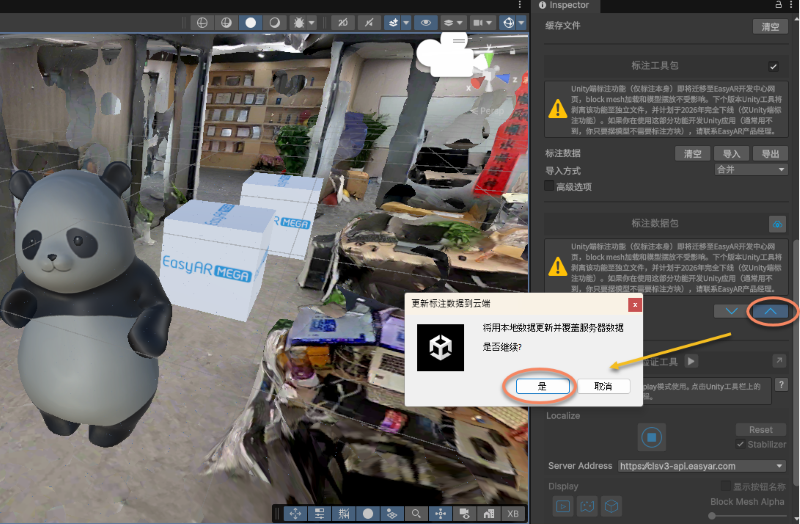
upload に成功すると prompt が表示されます。
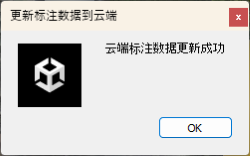
Annotation data を確認する
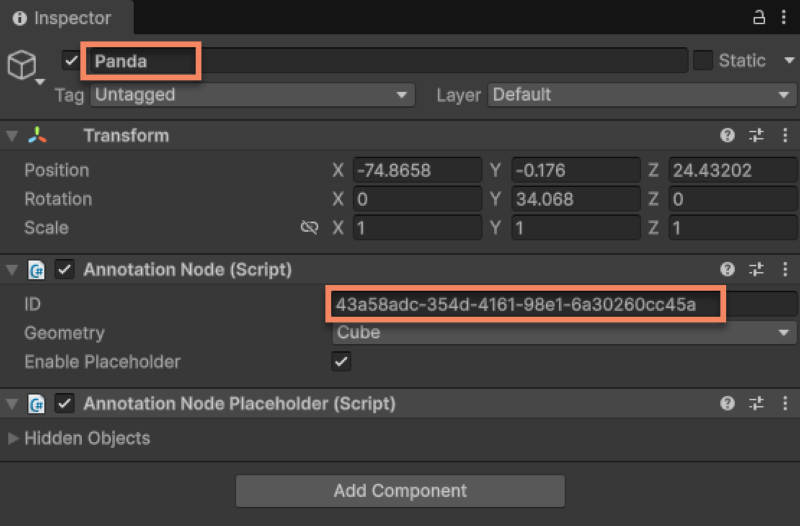
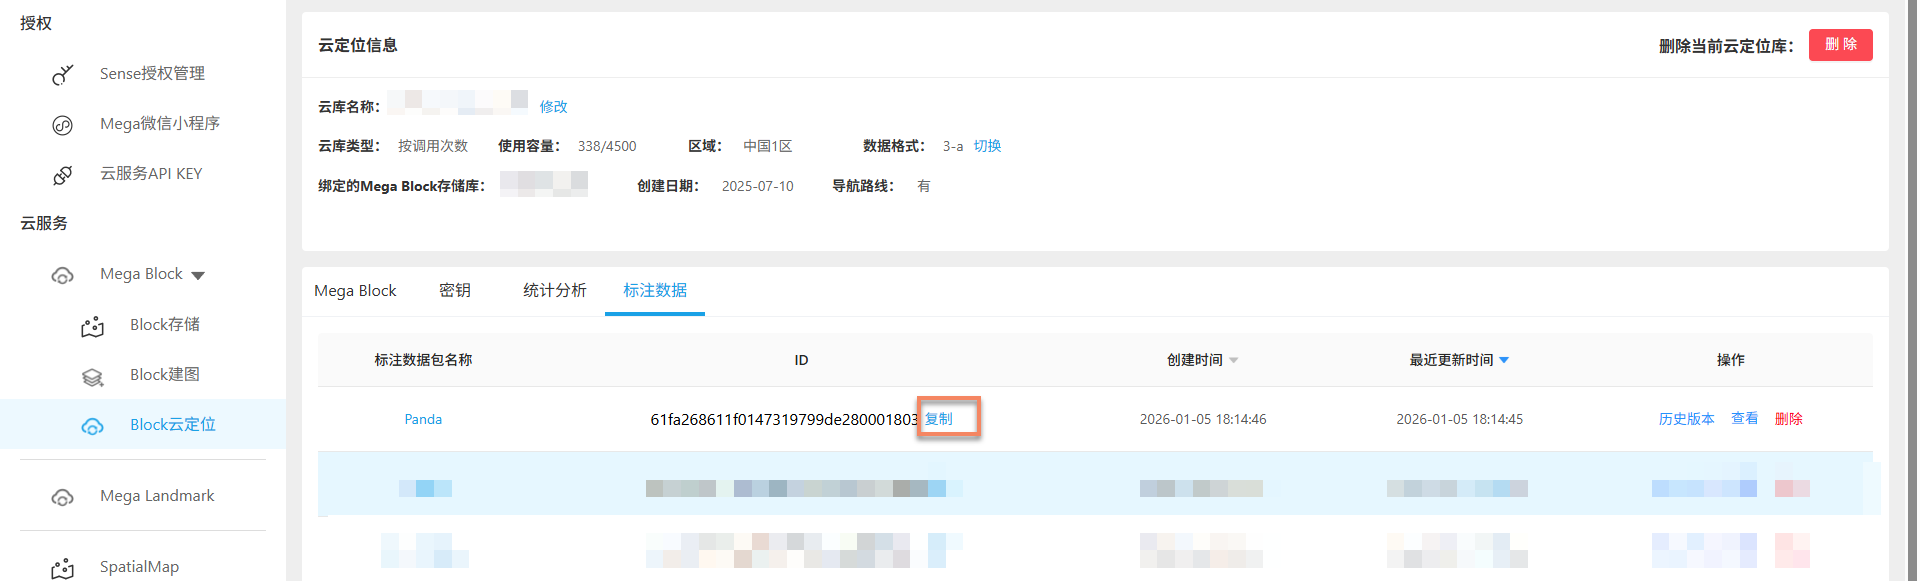
xr-frame 上で対応する annotation data を読み込むため、annotation data の ID を記録する必要があります。
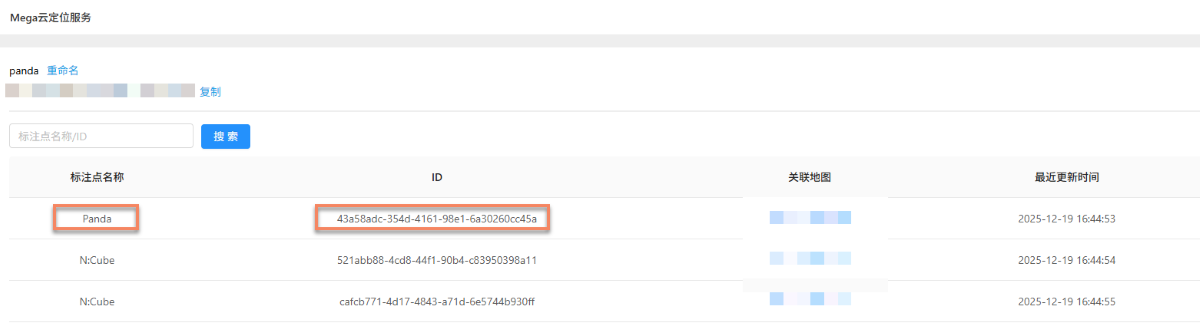
upload 成功後、cloud localization library でも対応する情報を確認できます。このページの一覧にある ID は annotation data package ID です。
ここでも upload した annotation data name と ID を確認できます。このページの一覧にある ID は annotation point ID です。
次のステップ
- upload した annotations を使用して complete sample project を実行する
- Unity editor を使用して real world と整合する 3D content を作成することを試す